There are two popular options for homelabbing hypervisors: Proxmox and XCP-ng
Proxmox #
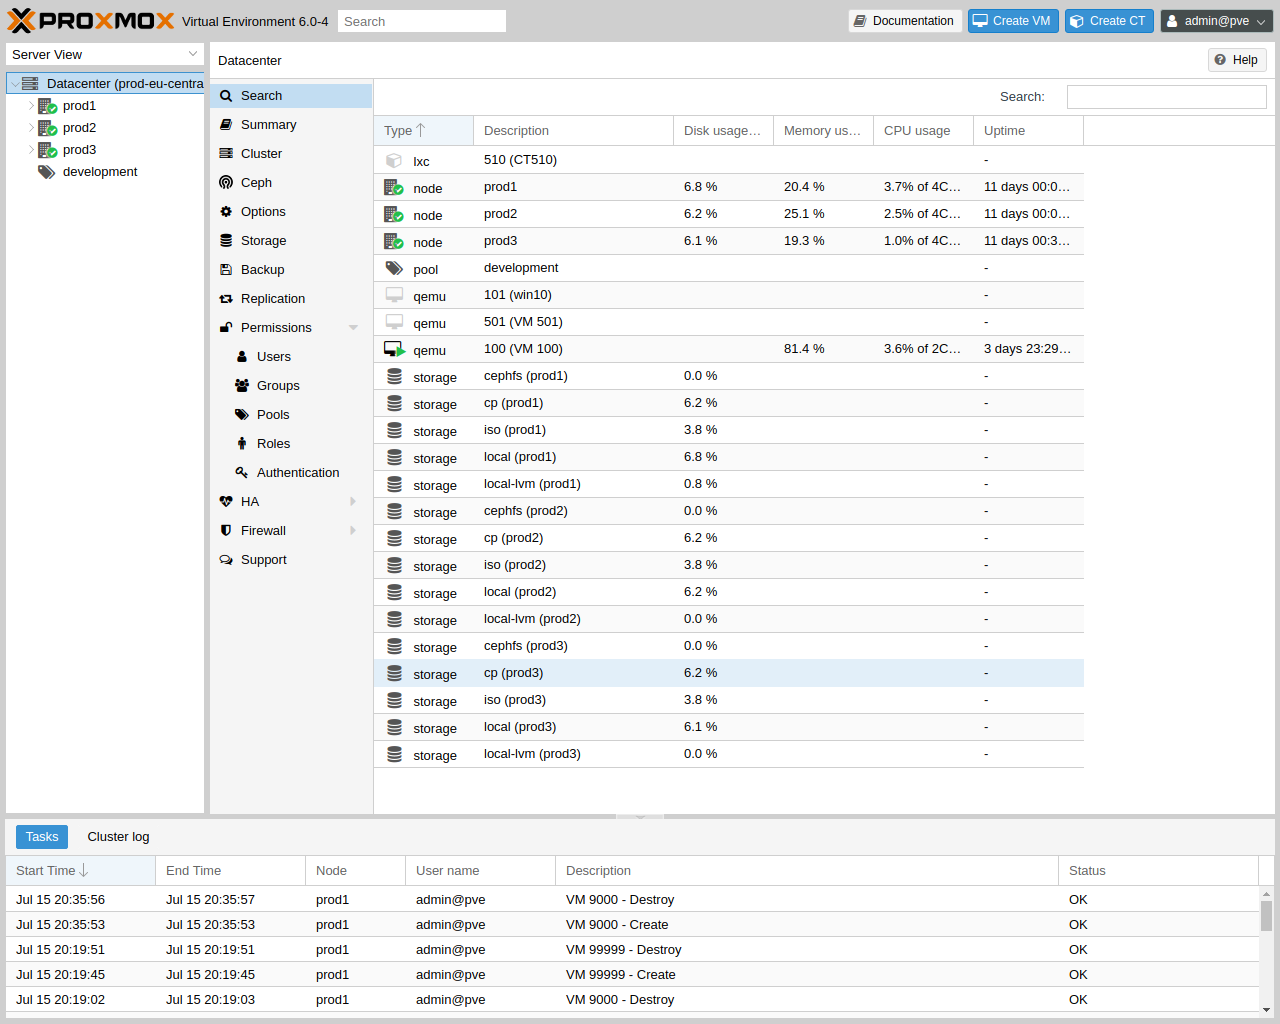
Proxmox is generally more popular and may be a better fit for smaller builds. When you visit the server’s IP address in a browser, you are taken directly to the Proxmox web-based admin interface, instead of needing a separate management client like XCP-ng does. It is definitely a lot more straightforward.
Despite that, I decided I wanted to try something a little different and dove into XCP-ng.
XCP-ng #
XCP-ng is its own OS, so it’s installed in the same manner as any other.
XO-Lite #
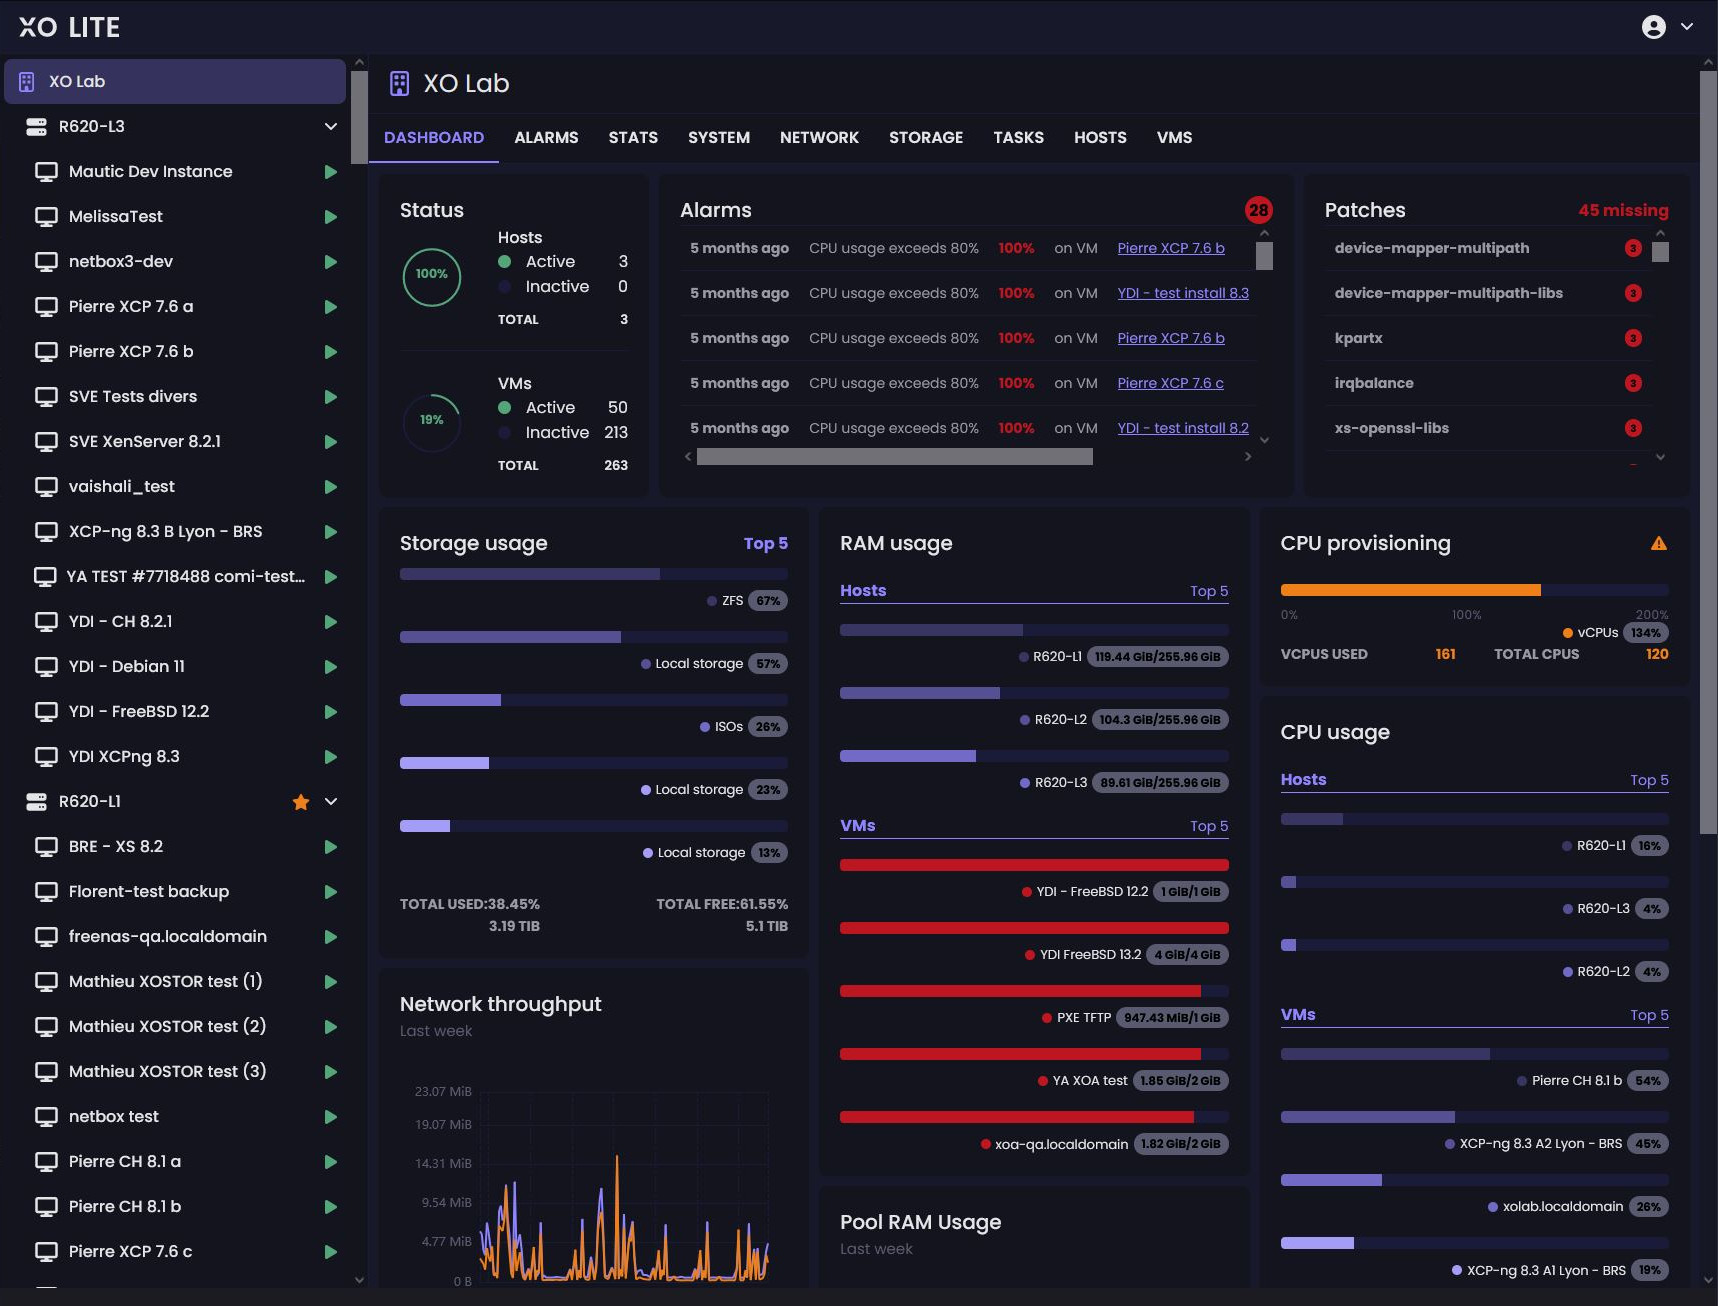
Ok, remember when I said that XCP-ng requires a separate management client? That’s not entirely true. If you navigate to the server’s IP you will be greeted with Xen Orchestra Lite (XO Lite). It is still a work in progress and is only capable of very simple management tasks. As of now, it can really only start, stop, and delete VMs. It cannot however, create them, which is kind of important.
Xen Orchestra #
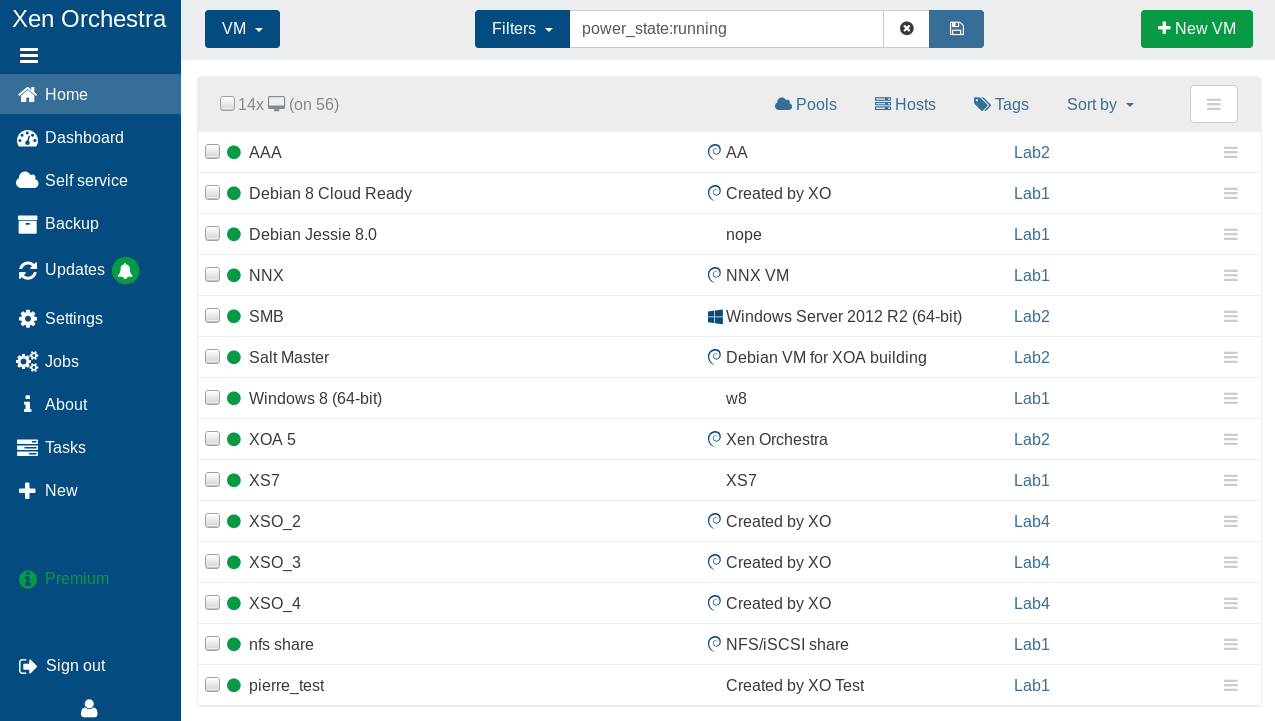
That functionality, among others, is only available with the full standalone client, Xen Orchestra.
Installation #
Normally, Xen Orchestra (XO) is installed on a separate machine and used to manage your XCP-ng host remotely. Because there was no second server available in this setup, there was also no VM to host Xen Orchestra in the first place, which created a classic chicken‑and‑egg problem: Xen Orchestra was needed to create VMs, but a VM was needed to run Xen Orchestra.
There’s a solution: Xen Orchestra can be deployed using a one-line command or through a web-based setup, but this is only available in the paid version.
Instead I found a repository that offered a one-line installation script with a prebuilt Debian 11 image. This image came with Xen Orchestra and XenOrchestraInstallerUpdater already installed. While this setup worked for a while, it wasn’t ideal in terms of resource management.
My Vostro server only had 8 GB of RAM total. Of that, 2 GB was allocated to the base XCP-ng OS, and the Xen Orchestra VM required another 2 GB as a minimum. That left just 4 GB for my main VM, which wasn’t a lot for all the services I wanted to run.
I realized that since my desktop PC was technically also a server, I could install it there. It wouldn’t have 24/7 uptime, but since the only time I’d need the service running is when my computer is on, this worked just fine—freeing up 6 GB for my main VM.1
Management #
There’s nothing I can say that isn’t covered in Lawrence Systems’ overview:
Backups #
Snapshots were easy enough to set up, but they aren’t a long-term backup solution. Since I don’t have a network attached storage (NAS), there wasn’t anywhere I could dump full backups, which for my VM was ~230GB. While not automated, I was able to manually create a full backup to a 256GB USB drive, doing this intermittently. Each time, I had to manually mount the USB drive and assign it as a remote. It definitely wasn’t an ideal system, but it was cool that it worked.
VMs #
After importing an ISO into the repository, you can create a VM with it. I chose Debian 12—as it was the latest version at the time—but you can use any OS.
I started off by installing some essential tooling required for basic functionality and networking. The rest is described in services.
Guest Tools #
Guest tools is required to connect the VM to the Xen Orchestra. These can be installed with:
sudo apt install xe-guest-utilities
Auto-Updating #
- To enable auto-updating on I made sure
unattended-upgradeswas installed:
sudo apt install unattended-upgrades
- And then enabled it:
sudo dpkg-reconfigure unattended-upgrades
VPN #
- Tailscale was first installed with the automated install script:
curl -fsSL https://tailscale.com/install.sh | sh
- And then enabled with:
sudo tailscale up
-
This is still 2 GB less than if I had gone with a bare metal installation, but gave me a bit more breathing room to experiment. ↩︎