What is DokuWiki? #
DokuWiki is the industry standard when it comes to FOSS internal documentation programs. It’s lightweight, extensible, and highly portable. Easy backups and plain text storage make it perfect for critical documentation and materials.
However, its default settings are not the friendliest for non-technical contributors. Its default theming anchors it firmly in the 2000s, editing requires knowledge of their homebrewed markup language, and creating pages requires using embedded links and understanding the namespace system.
At my last organization, the primary challenge was adapting our existing DokuWiki configuration to be accessible and welcoming to non-technical contributors. We aimed for organization-wide participation, but since most departments were not technically inclined, it was essential to ensure everyone could contribute.
To address this, I wrote a guide specifically designed to onboard non-technical editors.
Templates and Plugins #
Here’s the configuration that we used:
- Bootstrap 3 Template for a modern polished look that utilized the full width of the users screen
- CKGEdit for visual page editing
- Gallery for image galleries
- Newpagetemplate for page templating
- Addnewpage to streamline page addition
Open the Editor #
When editing a page in DokuWiki you can either edit the entire page or just a subsection.
-
Atop the floating sidebar on the right you will see a pencil icon. Selecting this will edit the entire page
-
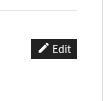
Underneath every section on the right, there will be a small button that reads Edit with a pencil icon. Selecting this will open the editor for that section only.
Visual Editor GUI #
Content Formatting Toolbar #
Buttons are explained left to right.
Header #
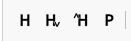
- Same Level Header: Will set header level to the one it is nested under. If there are no previous Headings present it will default to H1
- Lower Level Header: Drop the Header Level by 2
- Higher Level Header: Increase the Header Level
- Remove Header: Remove all Header formatting
Text Formatting #

- Bold: Bolds Selected Text
- Italic: Italicizes Selected Text
- Underline: Underlines Selected Text
- Monospaced Text: Sets horizontal space of all letters to an equal length
- Strikethrough: Add a Strikethrough for Selected Text
- Subscript: Adds a subscript
- Superscript: Adds a superscript
- Remove Formatting: Removes all Formatting on Selected Text
Search #

- Find: Opens the following window, Type in the word you wish to search for in the document.
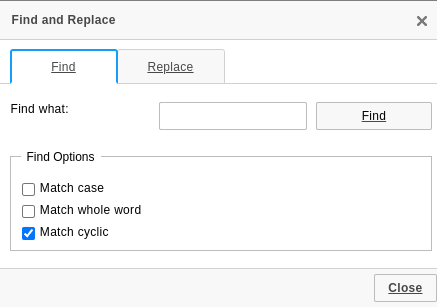
- Match Case: Enables case-sensitive searching
- Match Whole Word: Ensures only complete words are matched
- Match Cyclic: Allows wrapping around to the start of the document when reaching the end (Enabled by default).
- Replace: Opens the next tab
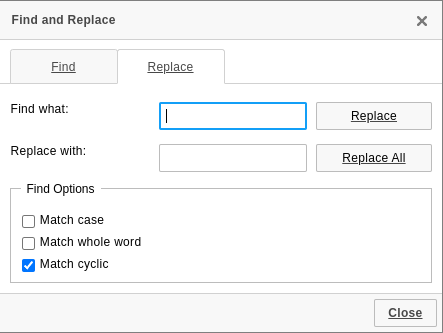
- Find what: Type in the word you are looking for in the document
- Replace with: Type in the word you would like to replace it with
- Replace: Replace only the selected instance
- Replace All: Replace all instances of found word
- Match Case: Enables case-sensitive searching
- Match Whole Word: Ensures only complete words are matched
- Match Cyclic: Allows wrapping around to the start of the document when reaching the end (Enabled by default)
Select All #

- Select All: Select everything in the document
Embeds #
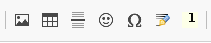
Image #
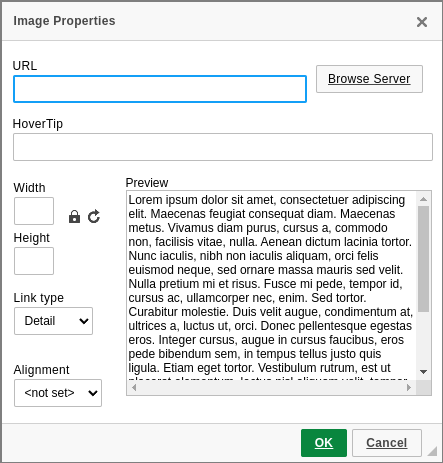
- URL: Copy and paste the URL of an image from the web if you are sourcing from online
- Browse Server: Browse Server Opens the File browser to select your desired image if sourcing locally
- Preview: See how your image will align with text before inserting it
- Width: Set the width of the image
- Height: Set the height of the image
- Lock: Lock the ratio of width and height
- Reset: Reset image size
- Link Type: Decide what behavior the image should exhibit when clicked
- Alignment: Where in accordance to text the image should be aligned (If not sure, select baseline)
Table #
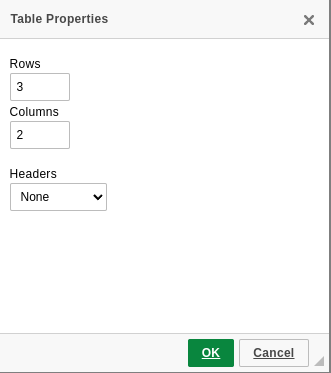
- Rows: Number of rows in final table
- Columns: Number of columns in final table
- Headers: Define if the first row, first column, or both should be headers
Insert Horizontal Line #
Insert a horizontal line
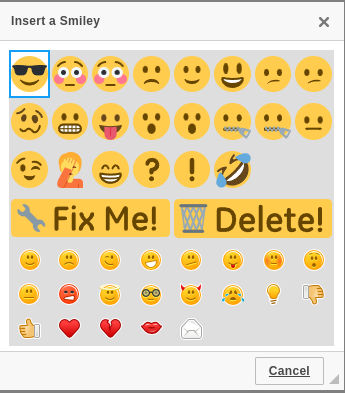
Smiley (Emoji) #
Brings up an emoji selection menu
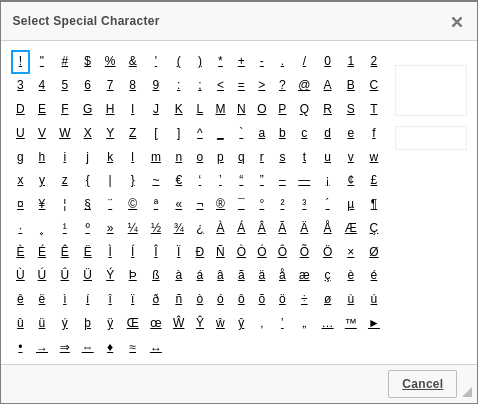
Insert Special Character #
Brings up a special character selection screen
Insert Signature #
Creates a signature that adds:
- email link
- date
- time
Insert a Footnote #
Opens an info box to add a footnote
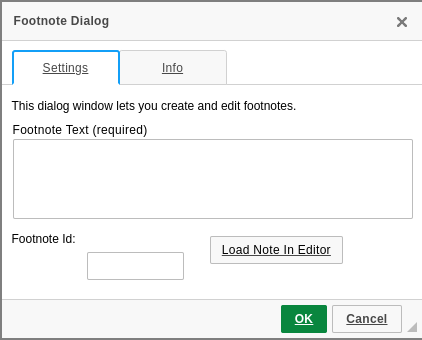
- To create a footnote, edit the Footnote Text box and click OK
To edit existing:
- To edit a footnote, enter the footnote id into the id box and click the Load Note In Editor
- The footnote will appear in the editing box, where you can edit it
- When done, click OK to save
A footnote id has the following form: fckgL_<n>, where n is the number of the note.
Links #

- Link: Creates a link
- Unlink: Removes an active link
URL (External Websites) #
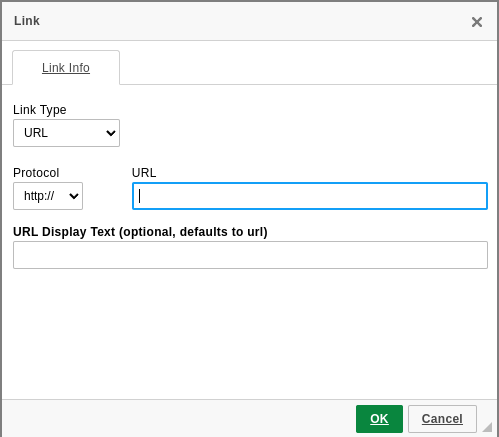
- Link Type: Determine what type of content to link, by default this is URL for External websites
- Protocol: What website protocol (This setting doesn’t have to be changed)
- URL: Paste the full external URL here, it will automatically set the correct protocol
- URL Display Text: How the link text will appear in the document
Internal Link (Internal Wiki Pages) #
This can also be used to create pages.
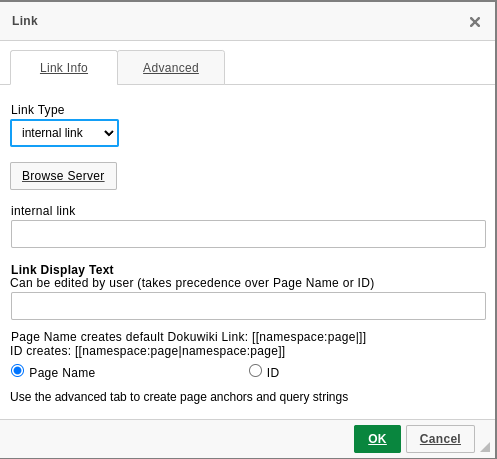
- Link Type: Determine what kind of content to link
- Browse Server: Open the server browsing list for internal page links
- Internal Link: The space for the internal page link, this will be automatically populated by the Browse Server
- Link Display Text: How the link text will appear in the document
- Page Name/ID: These determine what the internal page link will look like, this can be ignored and left to its default Page Name
Before selecting the Advanced Tab make sure that the Internal Link box in the Link Info tab has been populated
Advanced #
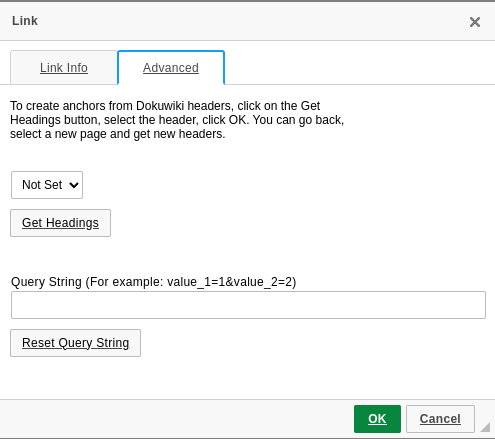
- Not Set: Not set by default, but will populate with all headings once Get Headings is selected
- Get Headings: Populates the previous dropdown with all of the headings from the page selected in the Internal link box
Internal Media (Adding Files) #
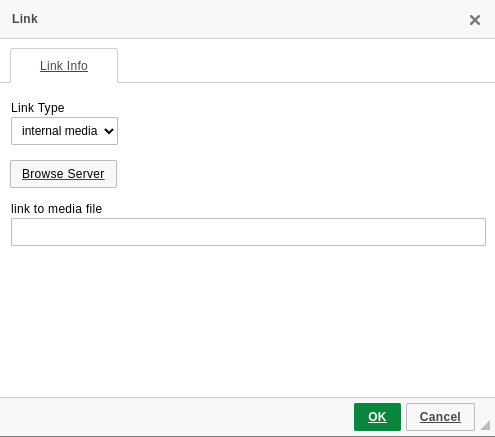
- Link Type: Determine what kind of content to link
- Browse Server: Open the server browsing list for files
There is no option to change how the link will be displayed, by default it will simply be its file link (ie. :department:some_file.pdf). To change the name after you press OK, edit the file name in the visual editor as you would any text. Just make sure you don’t delete all the letters or the file icon otherwise the link will be broken.
E-mail #
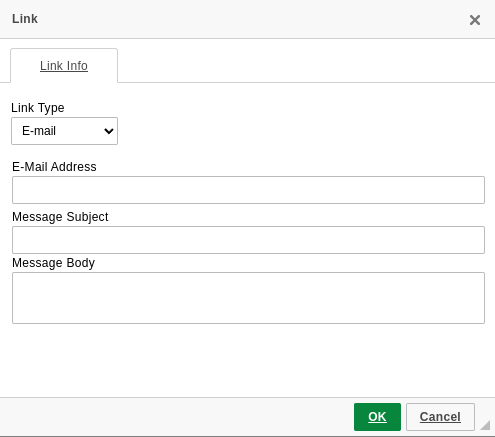
- Link Type: Determine what kind of content to link
- E-Mail Address: The recipient’s email address
- Message Subject: The email subject
- Message Body: The body content of the email
Samba Share (Network Drives) #

- Link Type: Determine what kind of content to link
- Samba Share: Network drive link to the file/folder
Interwiki Link (External Wikis) #
This feature is generally confusing and I wouldn’t recommend its usage; it can be ignored.
Formatting Dropdowns #

- Section Headers: Setting the heading level (H1-H5)
- Formatting Code Styles: Adds code blocks or inline code
- Font Name: Set Text Font
- Font Size: Set Font Size
- Text Color: Set text Color
- Background Color: Set Background Color
Lists #
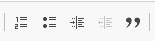
- Insert/Remove Numbered List: Create a numbered list, or remove an existing one
- Insert/Remove Bulleted List: Create a bulleted list, or remove an existing one
- Nested List: Increasing the nested of a given entry
- Decrease Nesting: Decrease the nesting of a given entry
- Block Quote: Creates a Quote block
Formatting Operations #

- Cut: Remove and Copy selected content to be pasted elsewhere
- Copy: Copy selected content to be pasted elsewhere
History Control #

- Undo: Undo the most recent action
- Redo: Reverse the effects of undo to restore the most previous action
Spellcheck #

This dropdown has several options which opens different tabs in the same pop-up:
- Enable SCAYT/Disable SCAYT: Enables or Disables Spell Checking
- Options:
- Ignore Words with Mixed Case: Excludes words containing both uppercase and lowercase letters
- Ignore All-Caps Words: Skips words written entirely in uppercase letters
- Ignore Domain Names: Excludes Internet addresses and website names
- Ignore Words with Numbers: Filters out words containing numerical digits
- Languages: Set which language to spell check for
- About SCAYT: Takes you to the user manual
Misc #
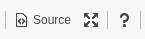
- Source: Shows the document in HTML
- Maximize/Minimize: Maximizes or Minimizes the Editor
- About CKGEDIT4: Information about the editor and its developers
Pasting #

Geshi Snippet or Block #
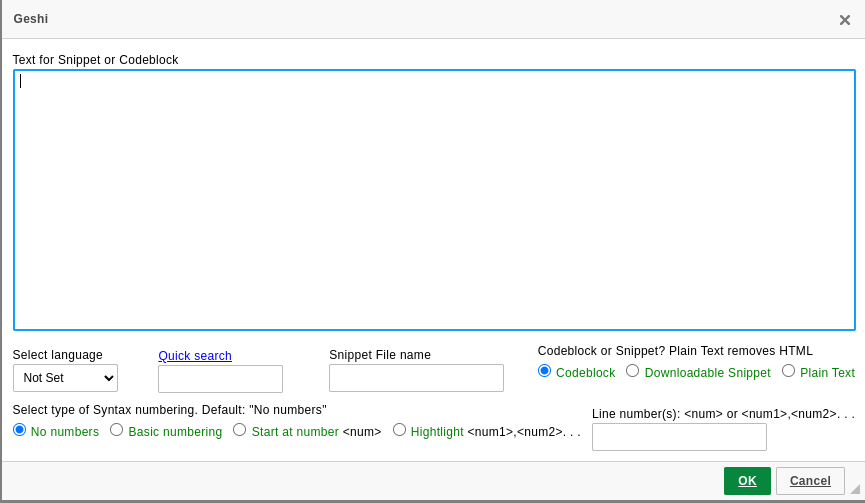
- Text or Snippet or Codeblock: Paste your Code/Text
- Select Language: Select the relevant language
- Quick search: Type in a language to quickly search through the dropdown
- Snippet File Name: Give the snippet a file name
- Codeblock or Snippet? Plain Text removes HTML: Choose which type of text it is for it to format properly
- Select type of Syntax numbering: Adds line numbers
Paste from Word #
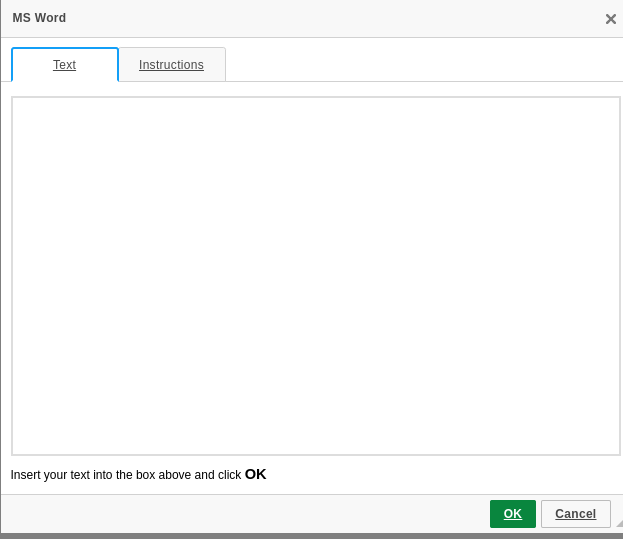
- To paste text into the Text Window, you must first click inside the window.
- Currently, there is only basic support for lists:
- There can be only one list per insertion
- Nested lists are not yet supported
- The best way to deal with complex lists is to paste them into the CKEditor, \ select them with your mouse, then open this dialog.The list will load into the Text Window. \ Click OK. This will clean up the list for use in DokuWiki.
- Try to make your selections for lists and tables as exact as possible.
Wrap Plugin #
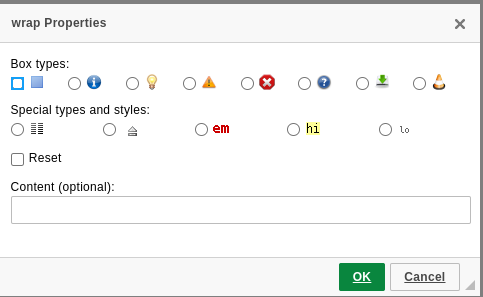
- Box Types: Select the type of banner you want to insert into your document
- Special types and styles: Select any additional text formatting options
- Reset: Reset Selections
- Content: The text you want to put in the banner
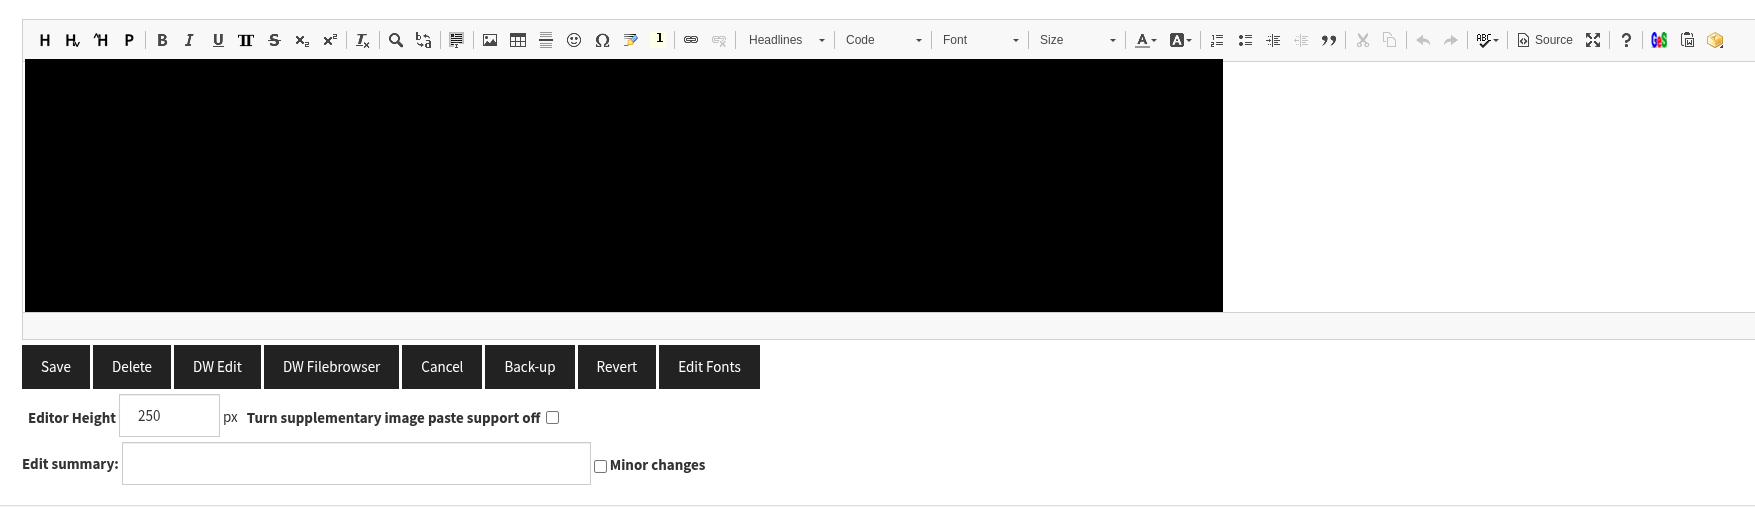
Primary Actions #

- Save: Saves the current configuration of the draft
- Delete: Deletes the page
- DW Edit: Reverts to markdown editing
- If this option is selected it will instead show CKG Edit which will return you to visual editing mode
- DW Filebrowser: Reverts to the default DokuWiki Filebrowser
- If this option is selected it will instead show CKG Filebrowser which will return to it’s file browser
- Cancel: Removes all unsaved edits and exits the editor
- Back-up: Creates a back-up draft
- Revert: Reverts to the last created back-up
- Edit Fonts: Removes the ability to add or remove content, only allows for formatting changes
DokuWiki’s default filebrowser has a more modern UI and loads much faster; however, CKG Filebrowser (while slower) has many more filtering options (making finding old files easier) and a more intuitive page linking/adding UI. You should experiment with both and see which ones suits your needs better.
Editor Settings #

- Editor Height: Default height of the editor when opening
- 250px is pretty short, I would recommend having a height of at least 500px
- Turn supplementary image past support off: This toggles whether or not images can be copy and pasted into the editor and maintain their styling
- Edit Summary: This adds a note to the edit history about what changes you made
- Minor Changes: This toggle marks whether or not the change was minor //Note: Both Edit Summary and the Minor Changes textbox are not required, however, they can be useful for other editors to easily keep track of changes//
Namespaces #
Think of DokuWiki’s namespace system like a filing cabinet: it organizes your pages into folders (called namespaces) that can contain other folders and documents. When you create a page with a colon in its name (like wiki:documentation:installation), you’re automatically creating a folder structure where wiki is the main folder, documentation is a subfolder, and installation is a document in the subfolder. This happens automatically, you don’t need to create the folders first, and the system keeps everything tidy by removing empty folders when they’re no longer needed.
Example of namespaces namespaces:
📁 Root
├── 📁 pagetemplates
├── 📁 Department 1
├── 📁 Department 2
├── 📄 sidebar
└── 📄 start
You can find a page’s namespace by checking the blue tag that hangs right above the page content in the upper right hand corner, or the footer in the bottom right.
How to use the File browser #
When prompted, Browse Server will open the file browser.
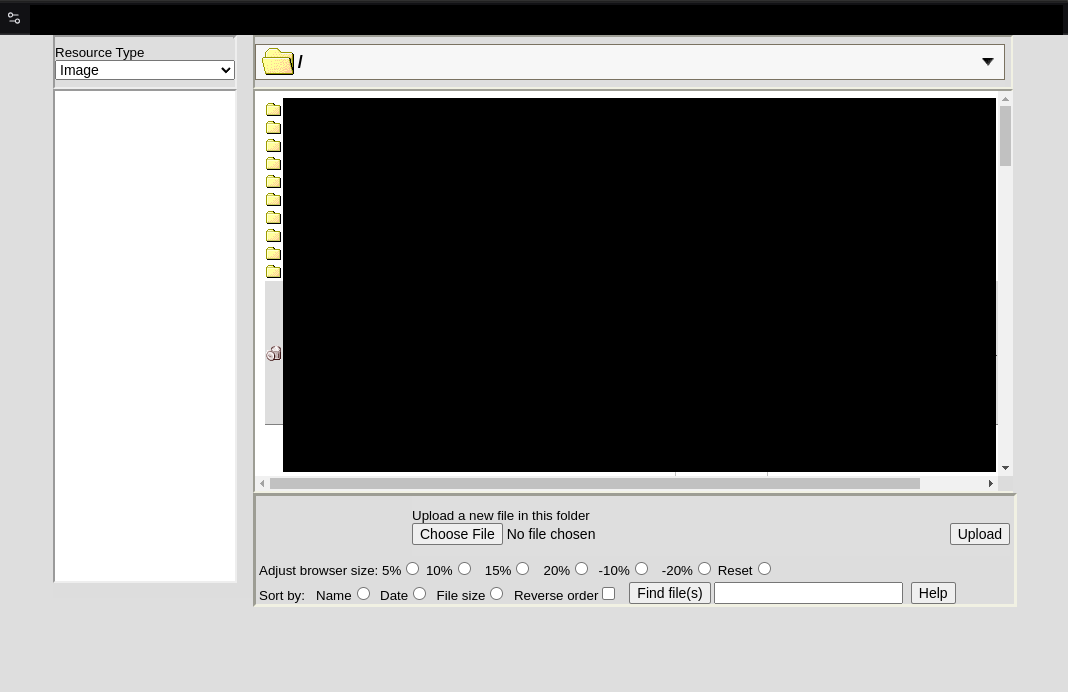
- Resource Type: This option in the top left indicates if you have chosen to upload a file or an image
- Choose File: Opens your local filebrowser to choose which file to upload. You can only upload one at a time, to upload multiple see below
- Upload: Upload your selected file
- Adjust Browser Size: Resizes the window by the selected percentage. Effects only take place after reopening.
- Name: Sorts by name in alphabetical order
- File size: Sorts by File Size
- Reverse Order: Reverses the default sorting (eg. if alphabetical was A-Z, selecting this will make it Z-A)
- Find File(s): Search for the file name you put in the search box next to it
- Help: Useful tips on how to use the tool
Adding an Image/File #
Refer to directions for image or adding files first.
- Click the folder corresponding to the namespace you would like to upload to/download from (It may take a bit to load the first time)
- Use Choose File and Upload if you need to upload a file
- Use the search function and filtering options to find your desired file
- Click the file 5 For images finish adding settings in the Image Porperties window and then click OK
If the Image window doesn’t respond to clicking OK then set Alighnment to Baseline. The window will close and the Image embed might not show, but if you save and reopen the editor it will appear.
Adding a Gallery #
The general syntax to display a gallery is:
{{gallery>:namespace}}
This will show all the images in a namespace, for more in depth options consult the documentation.
Linking a Page #
View the overview of the link window first.
- Select the desired namespace
- Select the page you would like to link to (All the files shown in the file browser are pages)
- Finish adding any desired settings in the Link window
- Click OK
Uploading Multiple Files #
CKGEdits’ default file browser only allows one file upload at a time. If you want to upload multiple files at once, you must either access the Media Manager or switch to DW Filebrowser.
Access the Media Manager #
- Click the wrench in the top right of the wiki
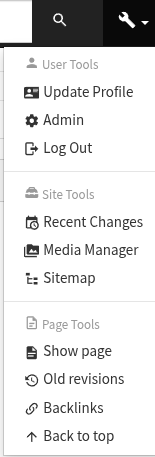
- Select Media Manager in the Site Tools subsection
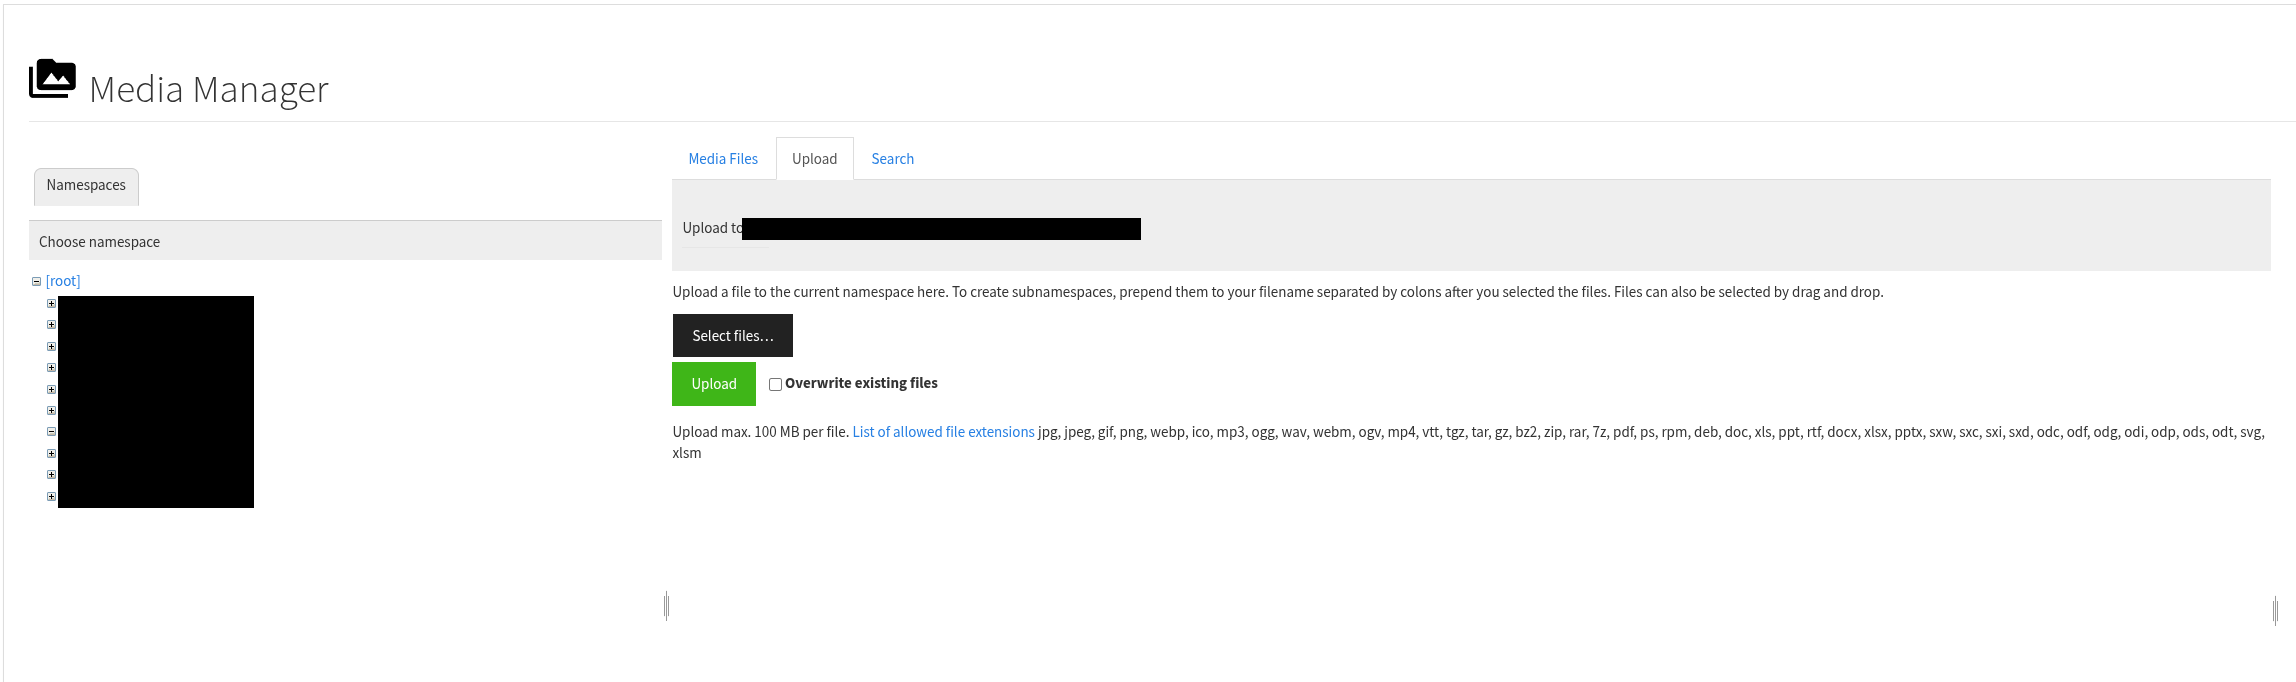
- Select the namespace you would like to upload to
- Navigate to the Upload tab
- Click Select Files… to open your local file browser and select your desired files
- Select Overwrite existing files if you’d like to replace files with the same name
- Click Upload
Creating a Page #
It is highly encouraged that you understand namespaces before continuing.
- Open the open page dropdown in the navbar, nestled between the settings and account icons
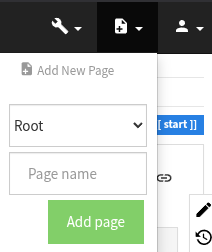
- Select the namespace you would like to create the new page in from the first drop-down selection
- Enter the desired Page Name in the text box
- Click Add Page (This will open an editor for the page)
- Add page contents in the editor
- Click Save to create the page
This method uses the Add New Page plugin. For more advanced configuration options, view the documentation.
Templates #
Templates are an advanced tool that allow for the standardized creation of pages. The following guide should help you produce a simple yet effective template widget:

Embedding the widget #
- Create a new page in your name space to be a template
- Enter DW Edit mode
- Read the comments to see which code would be appropriate for your use case
# Single box widget as shown above
{{NEWPAGE>"PATH TO PAGE"#"PATH TO TEMPLATE"}}

# Add a dropdown box to select namespace
{{NEWPAGE#"PATH TO TEMPLATE"}}

#Add a dropdown box to select template

{{NEWPAGE>"PATH TO PAGE"#"PATH TO TEMPLATE1","PATH TO TEMPLATE2"}}

#Add a dropdown box for both

{{NEWPAGE#"PATH TO TEMPLATE1","PATH TO TEMPLATE2"}}
- Replace
PATH TO PAGEwith the path to where you’d want the page to be created (eg.department:project_information) - Replace
PATH TO TEMPLATEwith the path to the template (eg.pagetemplates:project)
Refer to the documentation for more advanced template configurations. If you want to see more options for page creations and templates check openas.
Creating a Page by Link #
View the overview of the link window first.
- Write the link to where you want the page to be in Internal Link
- Colons are used to indicate namespaces and pages
- Example:
department:examplewill create a page called example in thedepartmentnamespace
- Example:
- If you do not indicate any previous namespaces and just put in text (e.g.,
example) then the page will automatically be linked downstream from the current page - Type how you want the link to be displayed in Link in Display Text
- Click OK
- Click the link (when newly created it will appear as red)

- The page will show a warning message that it has not been created yet

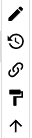
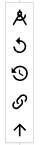
- Click the Create Page icon atop the floating editing toolbar on the right-hand side of the screen

How to Revert to a Previous Version of the Page #
- Select the second icon from the top in the floating edit bar on the right (looks like a clock with an arrow running counter-clockwise around it)
- This will take you to a new page with the full revision history
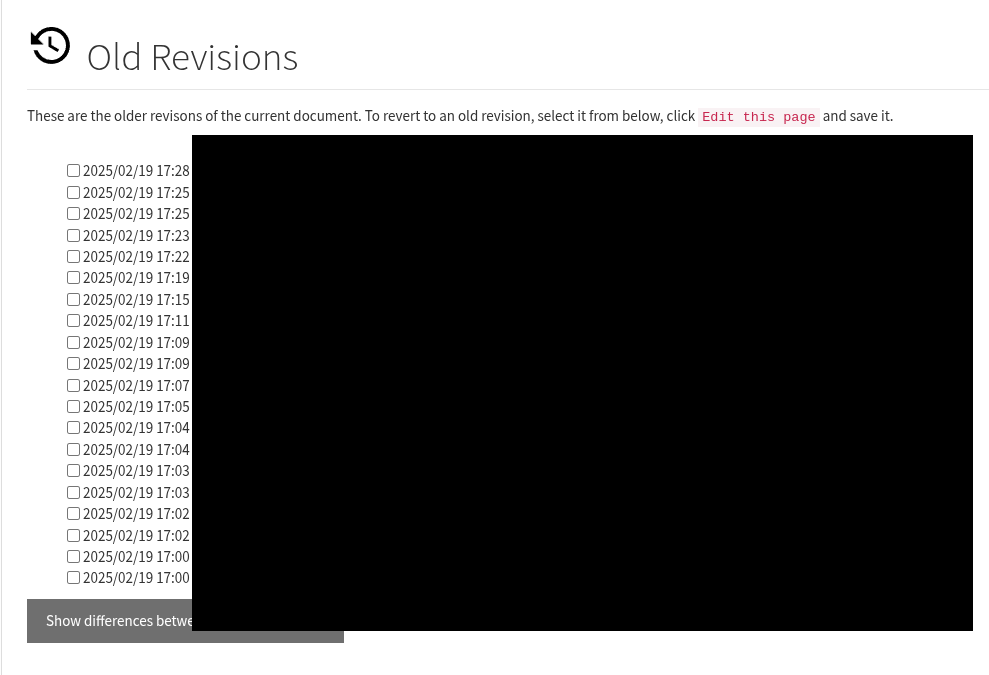
- Select a revision link to preview it. After deciding, click the revert icon in the floating edit bar (looks like a counter-clockwise arrow without a clock)
Shortcut Keys #
| Key Combo | Action |
|---|---|
| CTRL + I | italic |
| CTRL + B | bold |
| CTRL + U | underline |
| CTRL + Z | undo |
| CTRL + Y | redo |
| CTRL + L | link |
| ALT + - | numbered list |
| ALT + 8 | bulleted list |
| ALT + * | bulleted list |
| ALT + m | code |
| CTRL + Q | close editor & save |
| CTRL + 0 | remove heading |
| CTRL + 1 | header one |
| CTRL + 2 | header two |
| CTRL + 3 | header three |
| CTRL + 4 | header four |
| CTRL + 5 | header five |